장고 ORM과 쿼리셋(QuerySets)
장고를 데이터베이스에 연결, 데이터를 저장하는 방법
ORM(Object-Relational-Mapping)
객체와 관계형 데이터베이스를 매핑하여 데이터베이스 테이블을 객체지향적으로 사용하기 위한 기술이다.
ORM을 사용하면, SQL문 작성 없이 매핑하는 설정만으로 DB테이블내의 데이터를 객체로 전달 받을 수 있다.
가장 큰 장점은 SQL를 조금만 알아도 데이터베이스 작업을 할 수 있다는 점 같다.
학교 수업을 통해 한번 해봤던 부분이지만 ORM을 통해 테이블을 만들고, 각 요소들을 꺼내오는건 정말 신세계였다.
#sql
String sql = "SELECT ... FROM persons WHERE id = 10";
DbCommand cmd = new DbCommand(connection, sql);
Result res = cmd.Execute();
String name = res[0]["FIRST_NAME"];

#Django ORM
name = persons.objects.get('name')
쿼리셋
쿼리셋은 전달받은 모델의 객체 목록
쿼리셋은 데이터베이스로부터 데이터를 읽고, 필터를 걸거나 정렬 할수 있다.
템플릿 동적 데이터
이번에는 지난번 작성했던 글(데이터베이스안에 저장되어 있는 모델)을 가져와 템플릿에 넣어 보여줄거다.
뷰(View)는 모델과 템플릿을 연결하는 역할이다. post_list 를 뷰에서 보여주고, 이를 템플릿에 전달하기 위해서는 모델을 가져와야한다. 뷰가 템플릿 모델을 선택하도록 만들어야 한다.
# blog/views.py
from django.shortcuts import render
from blog.models import Post

def post_list(request):

    posts = Post.objects.all()
    context = {
    # posts란 키값으로
        'posts': posts
    }
    # render는 posts란 키값으로 posts의 쿼리셋을 읽을 수 있음
    return render(request, 'blog/post_list.html',context)
장고 템플릿 태그
템플릿 태그는 파이썬을 HTML로 바꿔주어 빠르고 쉽게 동적인 웹 사이트를 만들 수 있게 한다
post 목록 템플릿 보여주기
blog/views.py 에서 글 목록이 있는 posts변수를 템플릿에 넘겨주었다. 이 변수를 받아 HTML에 보이게 하는 과정
<html>
    <head>
        <title>Django Girls blog</title>
    </head>
    <body>
        <div>
            <h1><a href="">Django Girls Blog</a></h1>
        </div>
          <!-- for문을 통해, 포스트들의 발행일,제목,내용 출력 -->

    </body>
</html>

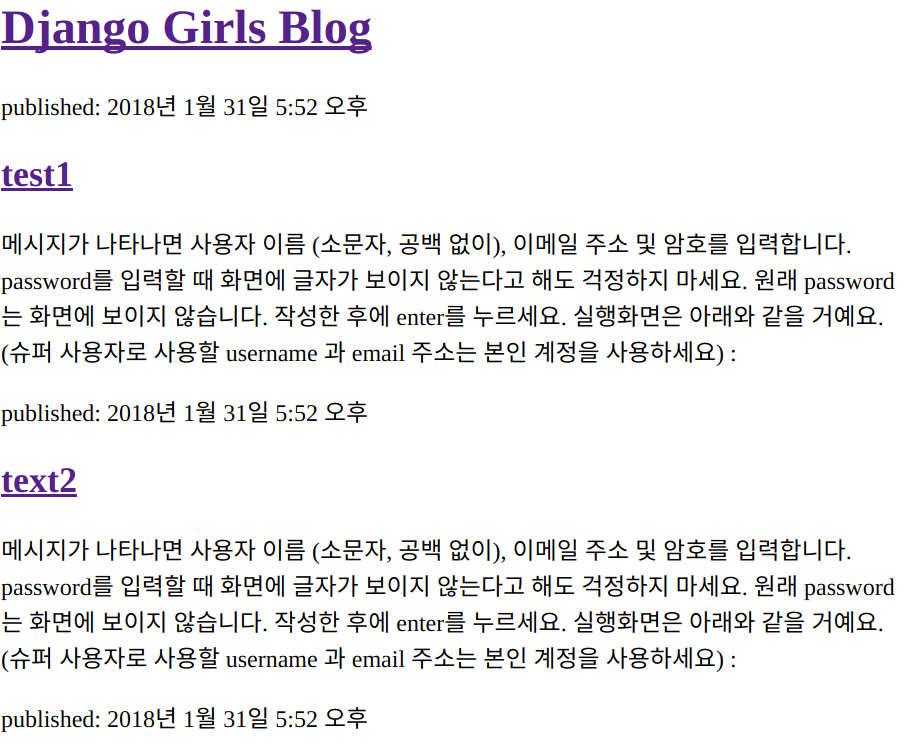
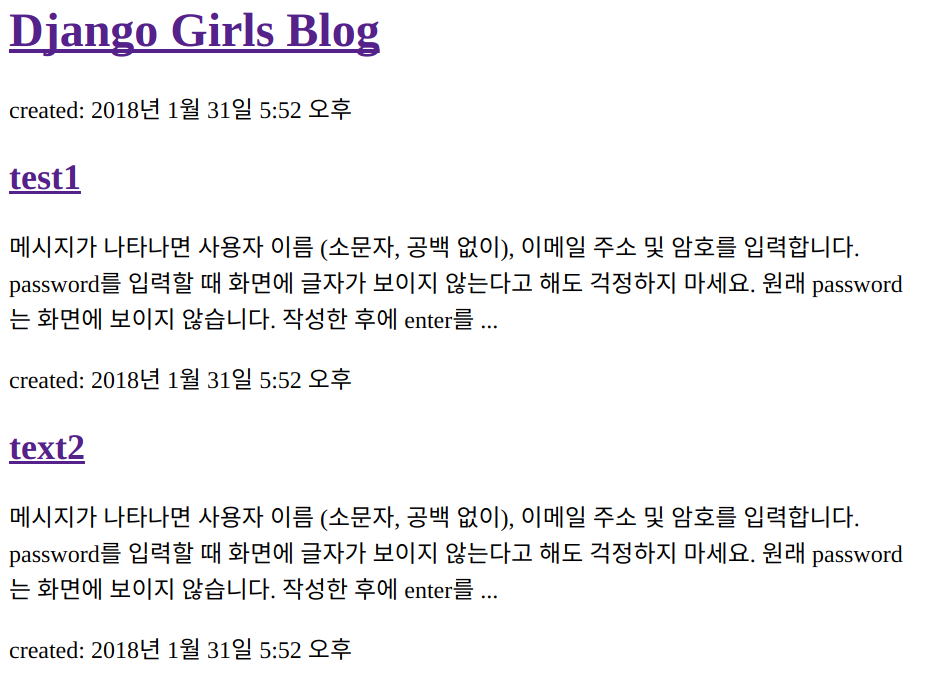
템플릿 태그 linebreaksbr 와 truncatewords 를 달아줬을 때의 차이

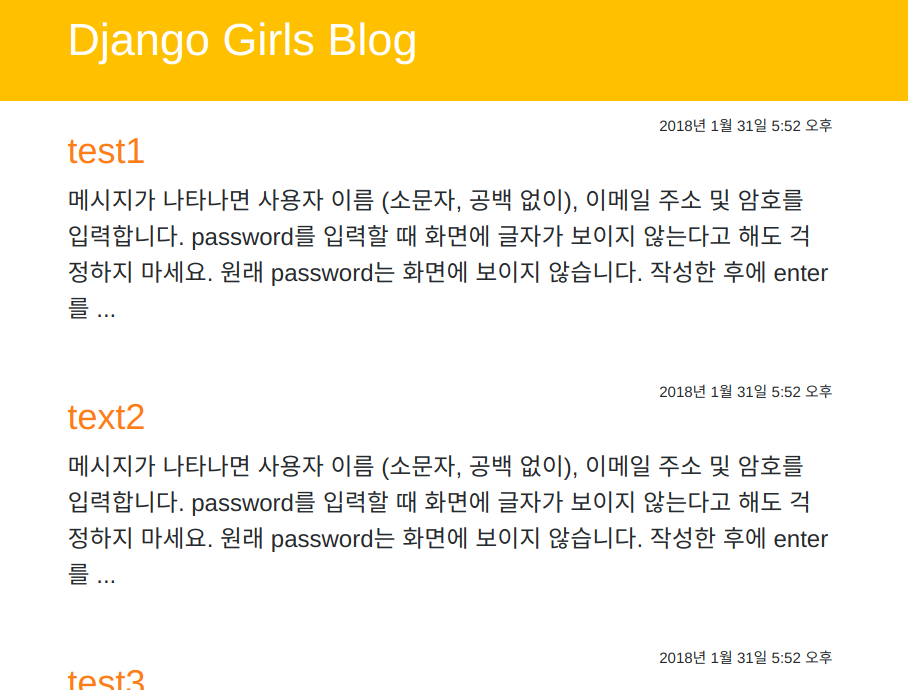
CSS로 템플릿 꾸미기
정적 파일
Static파일이란 웹 사이트 구성요소 중 Image, CSS, Script파일과 같이 그 내용이 고정되어 응답을 할 때 별도의 처리 없이 파일 내용을 그대로 보내주면 되는 파일을 의미
참고 사이트
- Django/static 디렉토리 생성
- Django/static/css 와 Django/static/bootstrap 디렉토리 추가 한후,
bootstrap 에서 받은 css과 js는 Django/static/bootstrap 여기에 넣어주기 - 정적 파일을 가리킬 수 있는 위치를 config/settings 파일에 추가하기
# 'django/static'폴더
STATIC_DIR = os.path.join(BASE_DIR, 'static')
# Django에서 정적파일을 검색할 경로 목록
STATICFILES_DIRS = [
    STATIC_DIR,
]

# 만약 요청이 URL이 /static/으로 시작할 경우,
# STATICFILES_DIRS 에 정의된 경로 목록에서
# /static/<path>/<-<path>부분에 정의된 경로에 해당하는 파일을 찾아 돌려준다.
# 따로 추가하지 않아도 됨 문서 끝부분에 있음
# URL주소는 변경이 가능하다
STATIC_URL = '/static/'
Django/static/css/ 위치에 blog.css 파일을 추가해서
CSS로 HTML 문서를 꾸며보자
<!doctype html>
<html lang="ko">
<head>
    <meta charset="UTF-8">
    <meta name="viewport"
          content="width=device-width, user-scalable=no, initial-scale=1.0, maximum-scale=1.0, minimum-scale=1.0">
    <meta http-equiv="X-UA-Compatible" content="ie=edge">
    <title>Document</title>
    <link rel="stylesheet" href="/static/bootstrap/css/bootstrap.css">
    <link rel="stylesheet" href="/static/css/blog.css">
</head>

<body>
<div class="header">
    <div class="container">
        <h1>Django Girls Blog</h1>
    </div>
</div>

</body>
</html>

이제 제목을 누르면 해당 글 내용을 전체 볼 수 있는 부분 만들자
views에 로직 추가하기
localhost:8000/detail/로 온 요청을 ‘blog/post_detail.html’을 render 한 결과를 리턴
# blog/views.py
def post_detail(request, pk):
    context = {
        'post': Post.objects.get(pk=pk),
    }
    return render(request, 'blog/post_detail.html', context)
blog/urls.py에 추가
# post-detail처리
path('post/<int:pk>/', views.post_detail, name='post-detail'),
post_detail.html 만들기
<!doctype html>
<html lang="ko">
<head>
    <meta charset="UTF-8">
    <meta name="viewport"
          content="width=device-width, user-scalable=no, initial-scale=1.0, maximum-scale=1.0, minimum-scale=1.0">
    <meta http-equiv="X-UA-Compatible" content="ie=edge">
    <title>Document</title>
    <link rel="stylesheet" href="/static/bootstrap/css/bootstrap.css">
    <link rel="stylesheet" href="/static/css/blog.css">
</head>

<body>
<div class="header">
    <div class="container">
        <h1><a href="">Django Girls Blog</a></h1>
    </div>
</div>
<div class="container">
    <div class="post">
        <p class="post-date">created: </p>
        <h2 class="post-title"><a href=""></a></h2>
        <p class="post-content full"></p>
    </div>
</div>
</body>
</html>
이렇게 하면 localhost:8000/post/1/로 접속하면 pk=1인 글을 볼 수 있다.
post_list.html수정
post_list.html 을 수정하여, 제목을 누르면 해당 글을 볼 수 있게 수정
<!-- post_list.html  -->
<!doctype html>
<html lang="ko">
<head>
    <meta charset="UTF-8">
    <meta name="viewport"
          content="width=device-width, user-scalable=no, initial-scale=1.0, maximum-scale=1.0, minimum-scale=1.0">
    <meta http-equiv="X-UA-Compatible" content="ie=edge">
    <title>Document</title>
    <link rel="stylesheet" href="/static/bootstrap/css/bootstrap.css">
    <link rel="stylesheet" href="/static/css/blog.css">
</head>

<body>
<div class="header">
    <div class="container">
      <!-- 원래는 템플릿 태그에 들어가야함-->
      <!-- 근데 jeklly에서도 이걸 사용하다보니 문제가 생겨서 편의상 지움 -->
        <h1><a href="{ url 'post-list' }">Django Girls Blog</a></h1>
    </div>
</div>

</body>
</html>
이 과정에서 만난 오류들
- jeklly 문제 글 다 작성했다고 완전 좋아했는데… ..왜? 아래와 같은 오류를 만났다.
Liquid Exception: Liquid syntax error (line 221): Tag '{ % % }' was not properly terminated with regexp: /\%\}/ in /home/kahee/blogk/_pos
ts/2018-01-30-Djangogirls_Tutorial(3).md
             Error: Liquid syntax error (line 221): Tag '{ % % }' was not properly terminated with regexp: /\%\}/
             Error: Run jekyll build --trace for more information.
설마 정말 설마했는데…. HTML에 넣은 템플릿코드를 jeklly에서도 사용하다보니, 오류가 났던 것. 결국 내 코드에서 중요한 부분을 빼버리게 되었다… 이 부분은 django했던 git 허브를 더 보자
- HTML파일에
<link>태그를 추가하고 오류static url 주소를 넣어줬는데,
{ % load static % }선언을 안했었음 - blog/urls.py
# post-detail처리
path('post/<int:pk>', views.post_detail, name='post-detail'),
<!-- blog/post_list.html -->
<div class = "post">
    <p class="post-date"></p>
    <!-- 제목을 누르면 post-detail url로 넘어간다. -->
    <!-- 이때 글의 번호를 함께 넘겨줌 -->
    <h2 class="post-title"><a href="{ url 'post-detail }"></a></h2>
    <p class="post-content"></p>
</div>
이렇게 넣었는데 NoReverseMatch 오류가 떴다.
URL:      localhost:8000/post/3/
Path:     post/<int:pk>/
URL name: post-detail
                kwargs: {'pk': <int value>}

템플릿 안에 있는 url은 거꾸로 작동한다.
---거꾸로---
URL name: post-list
Path:     list
URL:      localhost:8000/list

--거꾸로(post-detail)---
URL name: post-detail
          kwargs: {pk: <int value>}
Path:     post/<int:pk>/
URL:      localhost:8000/post/<int value>/
수정된 코드
<!-- 거꾸로 어떤 Post.id 인지를 받아오기 위해, 함께 넘겨줘야 함.  -->
  <h2 class="post-title"><a href="{ url 'post-detail pk=post.id }"></a></h2>